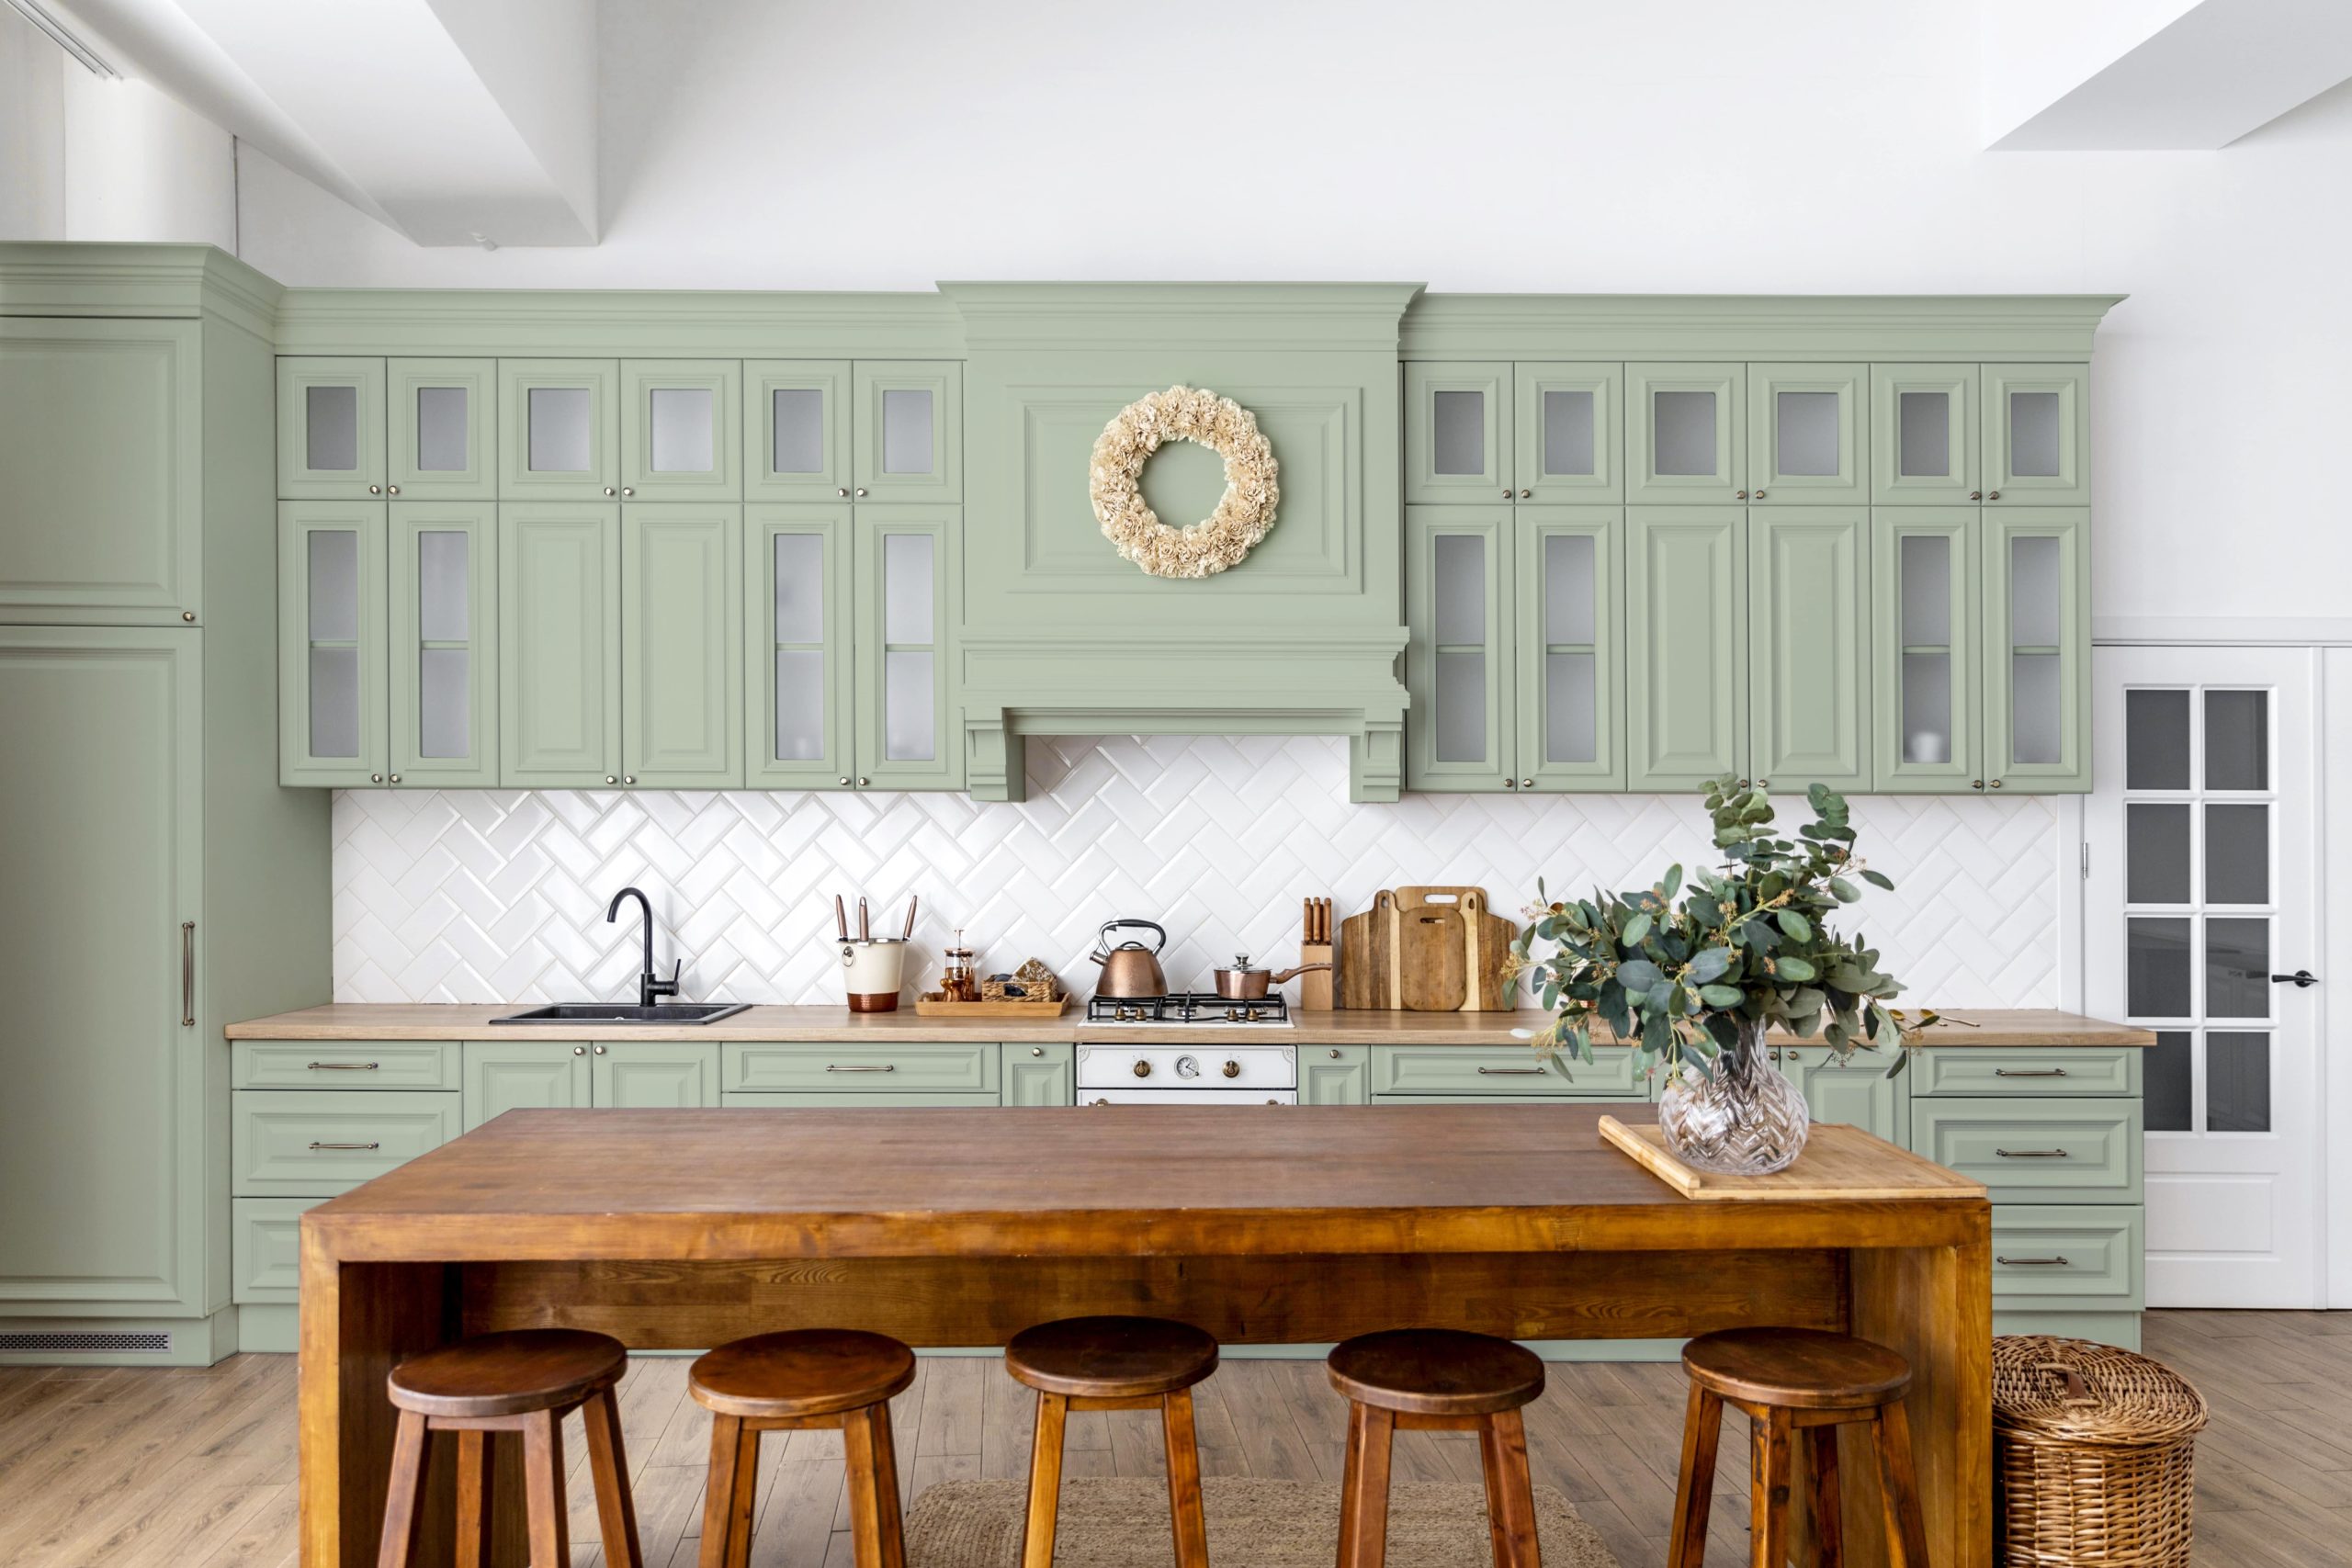
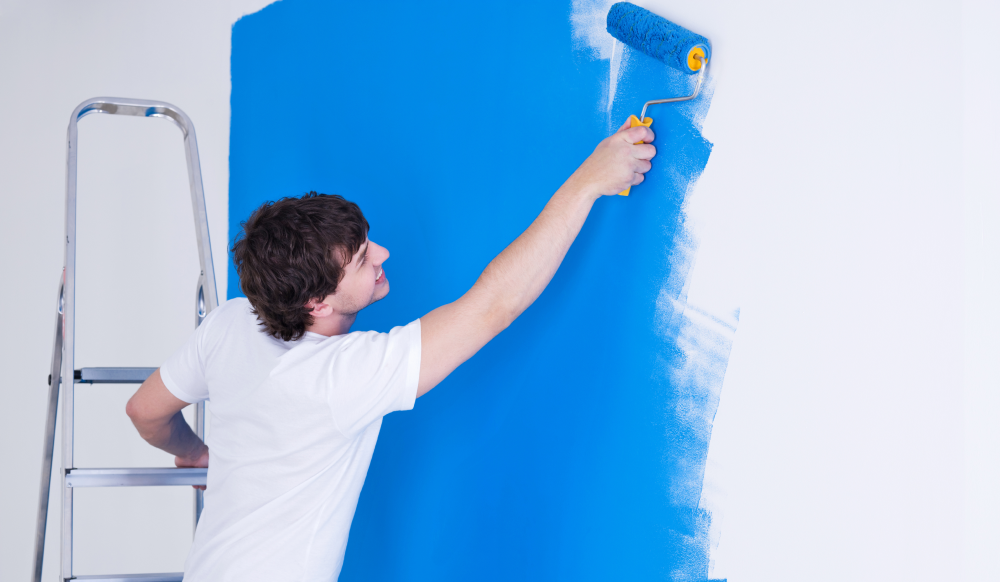
Your kitchen is the heart of your home, and one of the most impactful ways to breathe new life into it is by giving your cabinets a fresh coat of paint. Not only does this simple DIY project enhance the aesthetic appeal of your kitchen, but it can also be a cost-effective way to revitalize the space without the need for a full renovation. In this comprehensive guide, we’ll take you through each step of the process, from preparation to finishing touches, empowering you to transform your kitchen into a stylish and inviting space.

Planning and Preparation
Before you dive into painting your kitchen cabinets, proper planning and preparation are essential. This section will cover everything you need to do before picking up a paintbrush, including assessing the condition of your cabinets, choosing the right paint color and finish, gathering the necessary materials, and creating a workspace that facilitates the painting process.
Removing and Cleaning Cabinets
The key to a successful cabinet painting project is starting with a clean slate. Here, we’ll guide you through the process of removing cabinet doors, drawers, and hardware, as well as thoroughly cleaning the surfaces to ensure proper adhesion and a flawless finish.
Sanding and Priming
Proper surface preparation is critical for achieving professional-looking results. We’ll walk you through the steps of sanding your cabinets to create a smooth and even base for paint, as well as applying a high-quality primer to promote adhesion and prevent stains or discoloration from bleeding through.
Painting Techniques
With your cabinets prepped and primed, it’s time to break out the paintbrushes. This section will cover various painting techniques, including brush, roller, and spray application methods, as well as tips for achieving a smooth, streak-free finish and avoiding common pitfalls like drips and brush marks.
Drying and Curing
Patience is key when it comes to cabinet painting. We’ll discuss proper drying and curing times for different types of paint and finishes, as well as tips for ensuring adequate ventilation and avoiding premature damage to your freshly painted cabinets.
Reassembly and Finishing Touches
Once your cabinets have dried and cured, it’s time to reassemble them and add the finishing touches that will elevate the overall look of your kitchen. We’ll cover reinstalling hardware, adjusting hinges and drawer slides for proper alignment, and applying any final touches or decorative accents.

Conclusion
By following this comprehensive DIY guide, you can confidently tackle the task of painting your kitchen cabinets, transforming your space into a stylish and inviting environment that reflects your personal taste and enhances the overall functionality of your home.
